
Accessory guide · NexWave Games
How do you recognise an original Super Nintendo controller?
A Super Nintendo controller looks simple: a directional pad, four action buttons, Start, Select and two shoulder buttons. That recognisable design has frequently been copied. If you want an original Nintendo controller, examine the whole item. An attractive logo on the front or a particular screw on the back cannot establish authenticity by itself.
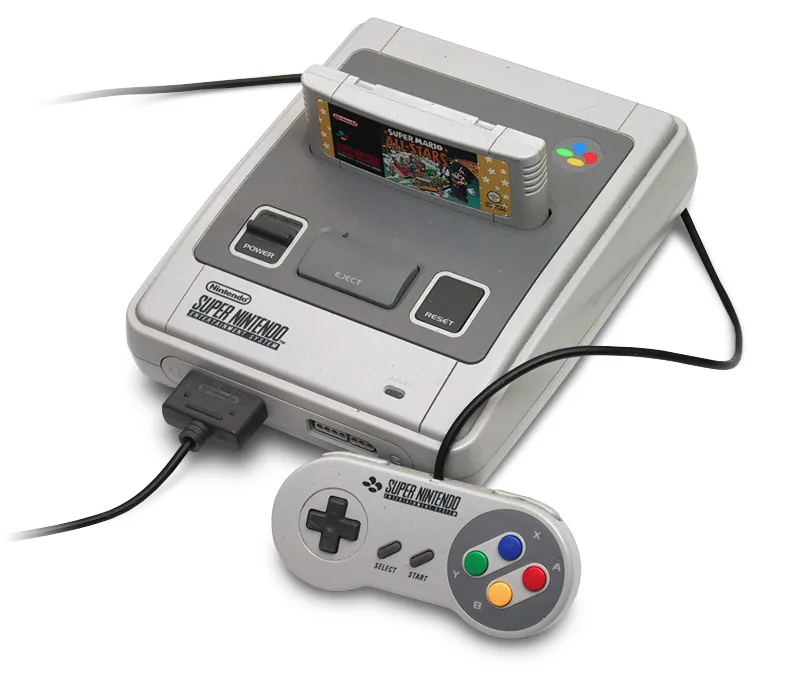

Start with the correct controller type
The original Super Nintendo controller has a cable that connects to the console’s controller port. A modern USB controller with the same shape is a different product. The same applies to a wireless version made for a later system. Look at the plug and cable first. The words SNES or Super Nintendo in a listing do not establish that it is an original controller from that period.
Original Nintendo versions also differ. For example, European and North American designs do not have the same button colours. An unfamiliar colour is therefore not automatically suspicious. Compare an offered controller with clear information about the same regional version. Consider the shell’s shape, button positions and markings together. A photograph of another version can create confusion instead of resolving it.
Combine several identifying details
Ask for sharp photographs of the front, back, plug and cable exit. Check that the text is legible and that shape, finish and placement match the expected version. Manufacturer markings and any model information are useful clues. Treat them as parts of one assessment rather than a separate certificate of authenticity. Markings can be copied, and parts may have been replaced on a used controller. The seller should be able to explain that clearly.
Also consider whether the item’s details fit together. A worn shell with remarkably new buttons might indicate maintenance or replacement without revealing which parts are original. Ask about previous repairs and its history if known. Do not draw a final conclusion from one font, screw or colour. You do not need to open the controller yourself to assess a purchase.
Original and working are separate checks
An original Nintendo controller can still play badly after extensive use. Test the directional pad in every direction and check for inputs when nobody is touching it. Try A, B, X, Y, Start, Select and both shoulder buttons in a game or suitable testing environment. Check that buttons return and can be pressed repeatedly. Browsing a menu alone does not test every button you will later need.
Inspect the cable for visible damage and check that the plug connects securely. Ask about loose or damaged parts before buying. If your priority is playing, reliable controls and the correct connection matter greatly. If you collect original hardware, you also need clarity about replacement parts. Good photographs, a test and an honest description reveal much more than the word original in the listing title.